
Tackling a Cluttered Garage: Where to Start and What to Keep
A step-by-step approach to sorting, decluttering, and reorganizing a garage so it actually functions as useful space again.
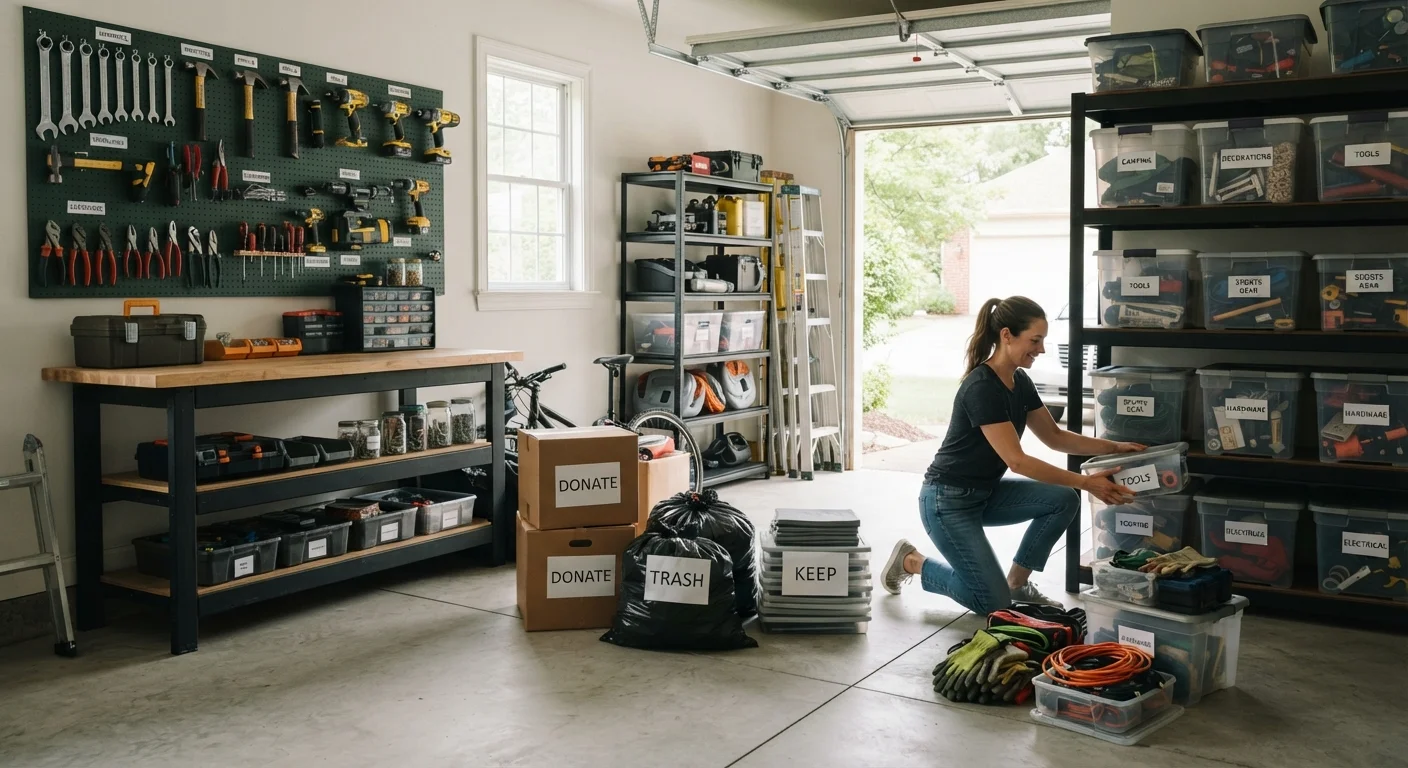
Photo: FaqsDrive.com | Smart Way To Search editorial
—— In This Article
Key Takeaways
- Empty the garage completely before sorting — this forces honest decisions about every item.
- Use a four-category system: keep, donate, trash, and relocate.
- Group items by activity zone rather than storing things wherever they happen to fit.
- Vertical wall storage and ceiling tracks free up floor space dramatically.
- Schedule a 15-minute monthly maintenance session to prevent clutter from returning.
Why the Garage Becomes a Catch-All (and How to Break the Cycle)
The garage is one of the few spaces in a home with no clear social function — it doesn't need to look presentable for guests the way a living room does. That invisibility makes it the default destination for anything that doesn't have a home elsewhere: holiday decorations, sporting goods from three seasons ago, tools borrowed and never returned, boxes from a move five years back. Over time, the sheer volume of stuff makes the space feel too overwhelming to tackle, so it keeps accumulating.
The good news is that the garage is also one of the spaces where a single focused effort produces the most dramatic results. Because it typically holds items from multiple life areas — home maintenance, hobbies, vehicles, seasonal needs — getting it right sets a foundation for the rest of the home. For a room-by-room framework that extends this thinking, the complete guide to organizing a home from top to bottom is a useful companion resource.
Think Vertically to Multiply Your Space
Most garages waste the space between five feet and the ceiling. Wall-mounted shelving, pegboards, and ceiling-mounted racks can double your usable storage without adding a single square foot to the floor plan. Store infrequently used seasonal items overhead and keep everyday tools at arm's reach.
What You'll Need Before You Start
Gather your supplies the day before so you're not making hardware store runs mid-project. A few hours of uninterrupted focus will accomplish more than a dozen scattered 20-minute sessions.
What you will need
Heavy-duty trash bags
Collect broken, unusable, or disposable items quickly during the sort phase.
Pegboard or wall-mount tool panel
Hang hand tools vertically to free up floor and shelf space.
Clear plastic storage bins with lids
Store sorted items so contents are visible at a glance without opening every container.
Shop vacuum
Remove dust, debris, and cobwebs from shelving and the garage floor after emptying.
Adjustable shelving unit
Create stackable vertical storage for bins, sports gear, and seasonal items.
Ceiling storage rack
Store bulky seasonal items like holiday decorations above the floor to reclaim ground space.
Step-by-Step: From Chaos to Functional
Follow these steps in order. Skipping the emptying or sorting phases and jumping straight to buying containers is one of the most common organization mistakes — it leads to neatly arranged clutter rather than a genuinely useful space.
Set a clear goal before you touch anything
Before moving a single box, decide what you want the garage to do. Park a car? Serve as a workshop? House sports gear and garden tools? Writing down two or three primary functions gives you a decision filter for every object you encounter. If an item doesn't support those functions, it needs a strong reason to stay.
Pull everything out onto the driveway
Empty the entire garage — shelves, corners, overhead areas — onto the driveway or lawn. This step feels extreme, but it accomplishes two things: it forces you to see everything you own at once, and it gives you a clean surface to sweep and inspect before anything goes back in. Resist the urge to sort as you pull; just get it all out first.
Sort into four categories
Set up four clearly labeled zones on the driveway: Keep, Donate, Trash, and Relocate (items that belong somewhere else in the house). Work item by item and be honest. Common rules of thumb: if you haven't used it in two years, it probably doesn't belong in the garage; if it's broken beyond a realistic repair, trash it; if it duplicates something you already own, donate one.
For a deeper look at building the decluttering mindset from the ground up, see this beginner's decluttering guide.
Clean the empty garage thoroughly
With the space empty, sweep the floor, vacuum shelving ledges, wipe down any wall-mounted brackets, and inspect corners for moisture, pest activity, or cracks. Address any issues — a damp corner or a gap under the door — before reintroducing storage. This is also the right moment to consider adding lighting if the space is dim.
Plan your activity zones before putting anything back
Mentally divide the garage into functional zones matching your goals from Step 1. Common zones include: a vehicle area, a lawn and garden station, a tool wall, a sports equipment section, and a seasonal storage area. Sketch a rough floor plan if it helps. Items you use most frequently should live nearest the door and at the easiest access height.
Install storage solutions, then return only the 'Keep' items
Install pegboards, shelving, or wall hooks before returning anything. As you bring items back in, place them directly into their designated zones. Label every bin — even if the contents seem obvious today, labels save time six months from now. Avoid the common mistake described in why organizing before decluttering makes the problem worse: don't buy containers for things you haven't decided to keep yet.
Remove donated and trash items the same day
Load donation boxes into the car immediately and drop them off before the week is out. Bag the trash and move it to the curb or a dumpster. Items left sitting on the driveway or just inside the garage door have a way of migrating back inside. Completing this final step the same day locks in your progress.
Don't Store Hazardous Materials Carelessly
Gasoline, pesticides, propane, and certain paints require specific storage conditions and should never be sealed in airtight containers or placed near heat sources. Check the product label for storage guidance and contact your local waste authority for safe disposal of anything you no longer need.
Permits May Be Required for Structural Changes
If your garage project involves electrical work — adding outlets, upgrading lighting — or any structural modifications, these tasks typically require permits and should be handled by a licensed professional. DIY electrical work in a garage can pose fire and safety risks and may affect your homeowner's insurance coverage. Always verify your local code requirements before starting.
Keeping It Organized After the Hard Work Is Done
A decluttered garage will drift back toward chaos without a simple maintenance habit. Once a month, spend 15 minutes returning items to their correct zones, tossing anything that's broken or no longer needed, and checking that labels are still accurate. This is far easier than another full-day overhaul.
The same principles that work in the garage apply throughout the home. If kitchen cabinets and drawers are next on your list, organizing a small kitchen efficiently follows a similar zone-based logic. And if you find yourself questioning whether organization systems are even worth the effort, it helps to read about common home organization myths that prevent people from starting in the first place.

Home & Garden Editorial Team
Home & Garden Editorial Team is the collective byline for our editorial team and contributor network. Articles published under this byline or an editorial pen name are researched, written, and reviewed according to our editorial standards for clarity, consistency, and independence before publication.
View author profile