
Tackling Your First Weekend Home Improvement Project
Not sure where to start? This guide walks beginner homeowners through choosing, planning, and completing a manageable first DIY project safely.
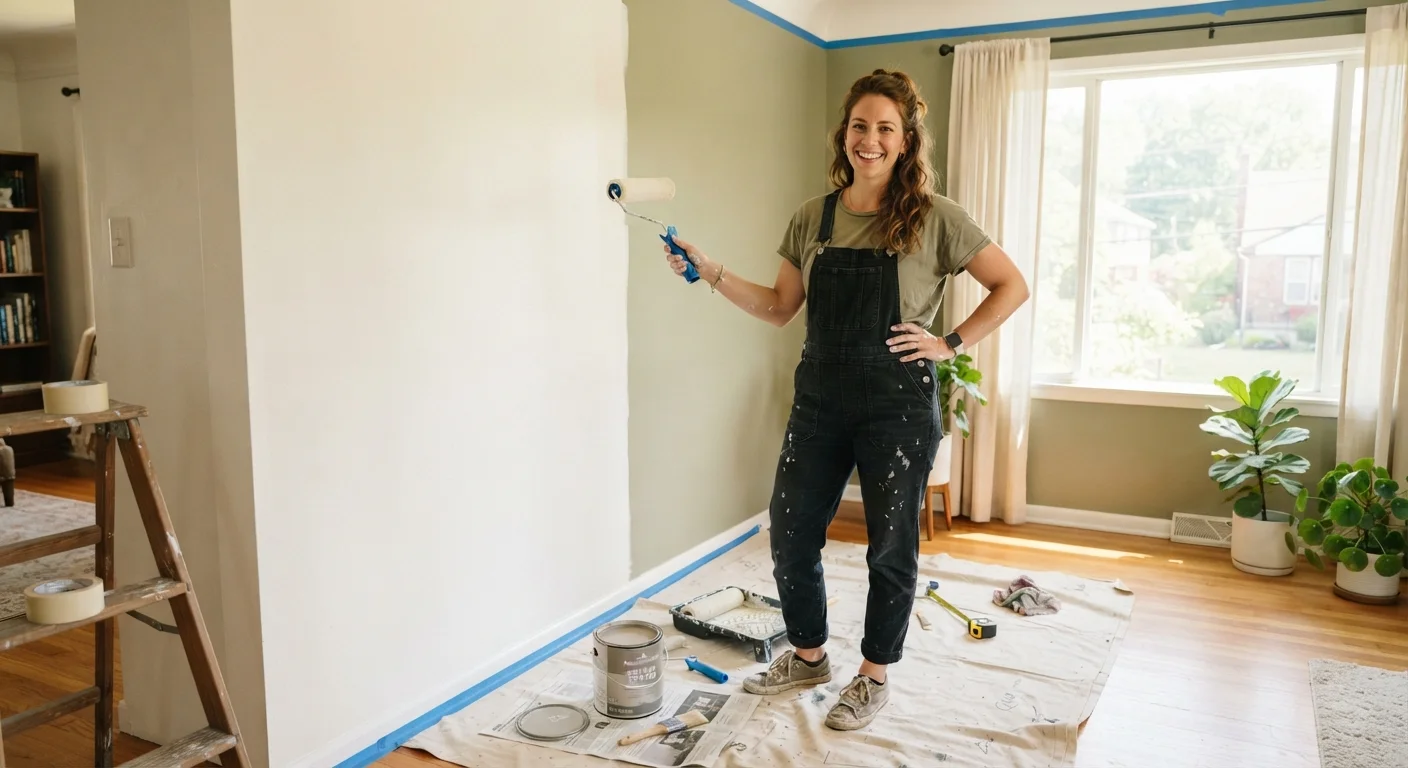
Photo: FaqsDrive.com | Smart Way To Search editorial
—— In This Article
Key Takeaways
- Beginner-friendly projects share three traits: low risk, clear scope, and no required permits.
- A written plan and accurate measurements prevent most costly first-timer mistakes.
- Basic safety gear — gloves, eye protection, dust mask — should be non-negotiable on every project.
- Electrical, gas, structural, and plumbing work almost always requires a licensed professional.
- Finishing one small project well builds the skills and confidence for tackling larger ones next.
Choosing the Right First Project
The biggest mistake first-timers make is picking a project that's too ambitious. A rewarding first project has three qualities: it's low-risk if something goes wrong, it fits inside a weekend, and it doesn't require permits or licensed trades to complete legally.
Strong beginner options include:
- Painting a room — visible impact, forgiving learning curve, no special licensing
- Patching small drywall holes — inexpensive materials, highly instructional
- Replacing door hardware (handles, hinges, locks) — no wiring, no plumbing, satisfying result
- Installing a programmable thermostat — straightforward if you follow manufacturer instructions; power must be switched off at the breaker first
- Caulking windows or tubs — improves energy efficiency and prevents moisture damage
If you're weighing several home improvement needs at once, our guide on prioritizing home improvement projects on a tight budget can help you decide which task deserves your first weekend.
Scope
The defined boundaries of a project — exactly what you will and won't do. A clear scope prevents a small task from expanding into an unmanageable one.
Building permit
Official approval from your local government required before certain types of construction or repair work. It ensures the work is inspected and meets safety codes.
Curing time
The time a product — such as caulk, paint, or adhesive — needs to fully harden or set before it can be used or painted over. Skipping this step can ruin the finish.
Load-bearing wall
A wall that supports the structural weight of the home above it. Modifying or removing one without engineering guidance can compromise your home's stability.
Non-contact voltage tester
A small, inexpensive tool that detects electrical current without touching a wire. It's an essential safety device before working near any wiring.
Planning Before You Pick Up a Tool
A written plan — even a simple one — prevents the most common beginner pitfalls: buying the wrong amount of material, starting without the right tools, or discovering mid-project that something unexpected is in the wall.
What a basic project plan includes
- Scope statement: One sentence describing exactly what the finished project looks like.
- Measurements: Take them twice. Room dimensions, hole sizes, fixture spacing — write everything down.
- Materials list: Every item you'll need, with quantities. Add a 10–15% overage for consumables like paint or caulk.
- Tool checklist: List tools required and note which ones you need to borrow or purchase.
- Timeline: Estimate realistic time blocks, including drying or curing time (paint, caulk, or adhesive often needs hours between coats).
If managing costs feels unfamiliar, building a simple project budget from scratch follows the same logical process and translates easily to home projects.
Measure Twice, Cut Once
This classic rule saves real money. Before purchasing materials or making any cut, double-check every measurement independently. A few extra minutes of verification prevents returns, wasted material, and frustrating restarts.
Gathering Tools and Materials
For most beginner projects, a modest starter toolkit covers the majority of tasks. You don't need to buy everything at once — acquire tools as specific projects require them.
A practical beginner toolkit
- Tape measure (25 ft)
- Hammer
- Flathead and Phillips screwdrivers (or a multi-bit set)
- Utility knife
- Level (2 ft)
- Putty knife
- Paintbrushes and a roller with extension handle
- Painter's tape
- Safety glasses, work gloves, N95 dust mask
When purchasing materials, bring your measurements and don't rely on memory. Ask staff at the hardware store to confirm you're buying the right type and grade — for instance, interior vs. exterior caulk, or the correct drywall patch compound for your wall type.
Curious about a more advanced project to work toward? Our overview of home insulation from attic to basement explains what's involved so you can assess it realistically for a future project.
Executing the Project Safely
Before any work begins, run through a short pre-project safety check:
- If the task involves electricity, confirm the circuit is off at the breaker — then use a non-contact voltage tester to verify before touching any wire.
- Clear and clean your work area so you're not stepping over clutter on a ladder.
- Read product instructions fully before opening containers — curing times, ventilation requirements, and skin-contact warnings vary by product.
- Tell someone in the household what you're doing and where, especially if working on a ladder or in a tight space.
Work methodically. Rushing causes most DIY injuries and mistakes. If a step isn't going as planned, stop and reassess rather than forcing it.
When the project is done, dispose of materials properly. Leftover paint, caulk tubes, and solvents often have specific disposal guidelines — check your municipality's guidelines for hazardous household waste.
Never Skip Electrical Safety Steps
Turning off a light switch is not the same as turning off the circuit. Always shut off power at the breaker box and confirm with a non-contact voltage tester before touching any wiring. Electrical shock is a serious risk — if you're uncertain, stop and call a licensed electrician.
Knowing When to Call a Professional
Part of being a capable DIYer is recognizing where your limits — and the law — draw a line. In the U.S., many types of home repair work require a licensed contractor and a permit from your local building authority. Doing that work without one can create problems with your homeowner's insurance and complicate a future home sale.
Always hire a licensed professional for:
- Any work on your electrical panel, new circuits, or rewiring
- Gas line connections, repairs, or appliance hookups
- Load-bearing wall modifications or structural repairs
- Roof replacement or major structural roofing repairs
- Connections to main plumbing supply or drain lines
If a project you started uncovers something unexpected — wiring that looks damaged, mold behind a wall, soft or rotted framing — stop work and consult a licensed professional before continuing. The goal of DIY is to improve your home, not to create a hazard that costs more to fix later.
For a related look at where the DIY line falls in a different context, our article DIY car maintenance: what's safe to do yourself applies the same honest framework to vehicle upkeep.
Prioritizing Home Projects on a Budget
Learn how to rank repairs and improvements when money is limited, so your first projects deliver the most value. A practical companion to this beginner's guide.
DIY vs. Pro: Understanding the Line
A clear-eyed look at which home tasks are safe for beginners and which genuinely require licensed professionals — organized by risk and complexity.
The Trade-Offs of DIY Tile Work
Once you've built confidence with simpler projects, tiling is a natural next step. This overview explains the real costs, skills, and risks involved before you commit.
Frequently Asked Questions

Home & Garden Editorial Team
Home & Garden Editorial Team is the collective byline for our editorial team and contributor network. Articles published under this byline or an editorial pen name are researched, written, and reviewed according to our editorial standards for clarity, consistency, and independence before publication.
View author profile