
Composting at Home: Turning Kitchen and Yard Scraps Into Garden Gold
A practical walkthrough for setting up a backyard compost system, balancing green and brown materials, and knowing when compost is ready to use.
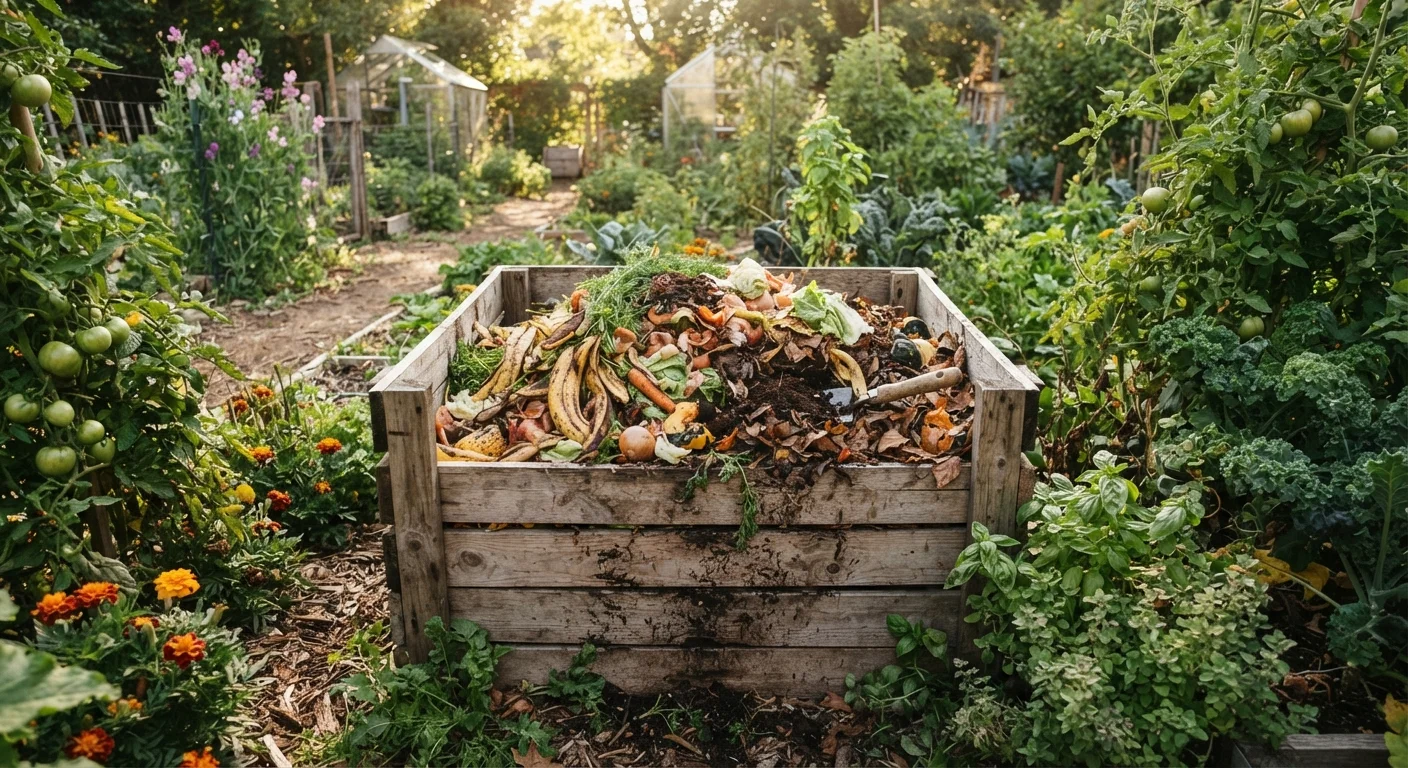
Photo: FaqsDrive.com | Smart Way To Search editorial
—— In This Article
Key Takeaways
- Compost requires a balanced mix of green (nitrogen-rich) and brown (carbon-rich) materials to decompose properly.
- Choosing the right bin location and size before you start saves significant time and effort.
- Turning your pile regularly and maintaining moisture accelerates the composting process.
- Finished compost looks and smells like dark, crumbly soil — not rotting scraps.
- Home compost can be applied directly to garden beds to improve soil structure and fertility.
Why Composting Makes Sense for Home Gardeners
Composting is one of the most practical habits a home gardener can develop. Rather than throwing fruit peels, coffee grounds, and fallen leaves into the trash, you redirect those materials into a process that produces a genuinely useful soil amendment — often called black gold by experienced gardeners. The end product improves soil structure, supports healthy plant roots, and reduces the need for store-bought fertilizers.
Beyond the garden, composting keeps organic waste out of landfills, where it would otherwise break down without oxygen and produce methane — a potent greenhouse gas. The process at home is aerobic (oxygen-supported), meaning it breaks down cleanly and without the same environmental drawbacks.
If you're just getting started with growing food or flowers, composting works hand in hand with good soil preparation. Our first garden guide covers how finished compost fits into broader soil preparation, and our spring garden prep checklist explains when and how to incorporate it before planting season.
What you will need
What You'll Need Before You Start
Getting the right materials and tools in place before you begin makes the process much smoother. You don't need expensive equipment — a basic bin and a few on-hand items are enough to get started.
Compost Bin or Wire Cage
Contains the compost pile, retains heat, and keeps pests out while materials decompose.
Pitchfork or Garden Fork
Used to turn and aerate the compost pile, which speeds up decomposition.
Kitchen Scrap Collector
A small countertop container that holds daily food scraps until you're ready to add them to the outdoor bin.
Thermometer (Compost or Soil Type)
Measures internal pile temperature to confirm active decomposition is occurring.
Watering Can or Hose
Maintains adequate moisture in the pile, which microbes need to break down organic material.
Keep These Items Out of Your Pile
Never compost meat, fish, dairy products, oily foods, pet waste, or diseased plants. These attract pests, create unpleasant odors, and can introduce harmful pathogens into your finished compost. Stick to plant-based kitchen scraps and clean yard waste for safe, effective results.
One practical habit that simplifies daily composting: keep a small countertop container in your kitchen to collect scraps between trips to the outdoor bin. This reduces how often you make the trip outside and makes it easy to build the routine. If you're already working to make your kitchen run more efficiently, see our kitchen organization guide for ideas on storing a countertop collector without adding clutter.
Step-by-Step: Starting and Maintaining Your Compost Pile
Follow these steps from initial setup through finished compost. The process is forgiving — if something doesn't look right, adjustments are usually simple.
Choose and Set Up Your Compost Bin
Select a spot in your yard that receives partial shade — direct sun dries the pile out too quickly, while deep shade slows decomposition. The area should be reasonably level and accessible year-round. Place your bin or frame directly on bare soil or grass so earthworms and beneficial organisms can migrate in naturally.
Your bin should be at least 3 feet wide and 3 feet tall to generate enough internal heat. Purchased plastic bins with lids work well for smaller yards; an open wire cage made from hardware cloth is an affordable DIY option for larger spaces.
Understand Green and Brown Materials
Successful composting depends on balancing two types of ingredients. Green materials are nitrogen-rich: fresh fruit and vegetable scraps, coffee grounds and paper filters, tea bags, fresh grass clippings, and plant trimmings. Brown materials are carbon-rich: dry leaves, cardboard torn into small pieces, straw, paper bags, and wood chips.
A general guideline is to aim for roughly two to three parts brown material for every one part green material by volume. Too many greens and the pile becomes wet and smelly; too many browns and decomposition slows to a crawl.
Build Your Initial Pile
Start with a 4-to-6-inch base layer of coarse brown material — wood chips or small twigs work well — to encourage airflow from the bottom. Add a layer of green kitchen scraps on top, then cover with another layer of brown material. Continue alternating layers as you add new material over time.
Lightly water the pile after building it so it feels as damp as a wrung-out sponge throughout. Dry material won't decompose; waterlogged material won't breathe properly.
Turn and Maintain the Pile Regularly
Use a pitchfork to turn the pile every one to two weeks, moving material from the outer edges toward the center where heat is highest. Turning introduces oxygen, which fuels the microbes responsible for breaking everything down. A properly active pile may reach internal temperatures of 130–160°F — warm enough to feel heat when you insert your hand near the center.
Each time you turn the pile, check moisture. If it feels dry, add water. If it seems soggy and compacted, mix in more dry brown material.
Recognize When Compost Is Ready
Finished compost looks dark brown to black, has a crumbly texture similar to rich soil, and smells earthy — not rotten. You should no longer be able to identify the original materials. Depending on your climate and how actively you maintain the pile, this typically takes anywhere from two to six months.
If you still see recognizable scraps, your compost needs more time. You can screen partially finished compost through a simple wire mesh to separate ready material from pieces that need to keep breaking down — return those unfinished pieces to the active pile.
Apply Finished Compost to Your Garden
Work 1 to 3 inches of finished compost into the top few inches of garden soil before planting, or spread it as a top dressing around established plants. Compost improves soil structure in both sandy and clay soils, supports microbial life, and releases nutrients gradually over time as it continues to break down.
For container gardens or raised beds, mix compost with other growing media rather than using it alone. A blend of compost and other amendments generally performs better than either material used exclusively.
Speed Up Decomposition Naturally
Chop or shred materials before adding them to your bin. Smaller pieces have more surface area for microbes to work on, which can cut decomposition time nearly in half. A simple garden shredder or even a lawn mower run over leaves works well for this purpose.
Avoid Overloading With One Material
Adding too much of any single material — especially fresh grass clippings — can cause your pile to become compacted and slimy, blocking airflow. Always layer or mix materials as you add them rather than dumping large quantities of one type at once.

Home & Garden Editorial Team
Home & Garden Editorial Team is the collective byline for our editorial team and contributor network. Articles published under this byline or an editorial pen name are researched, written, and reviewed according to our editorial standards for clarity, consistency, and independence before publication.
View author profile