
Drywall Repair: From Nail Pops to Fist-Sized Holes
Learn how to fix common drywall damage yourself — from tiny nail holes to larger patches — with the right tools and techniques.
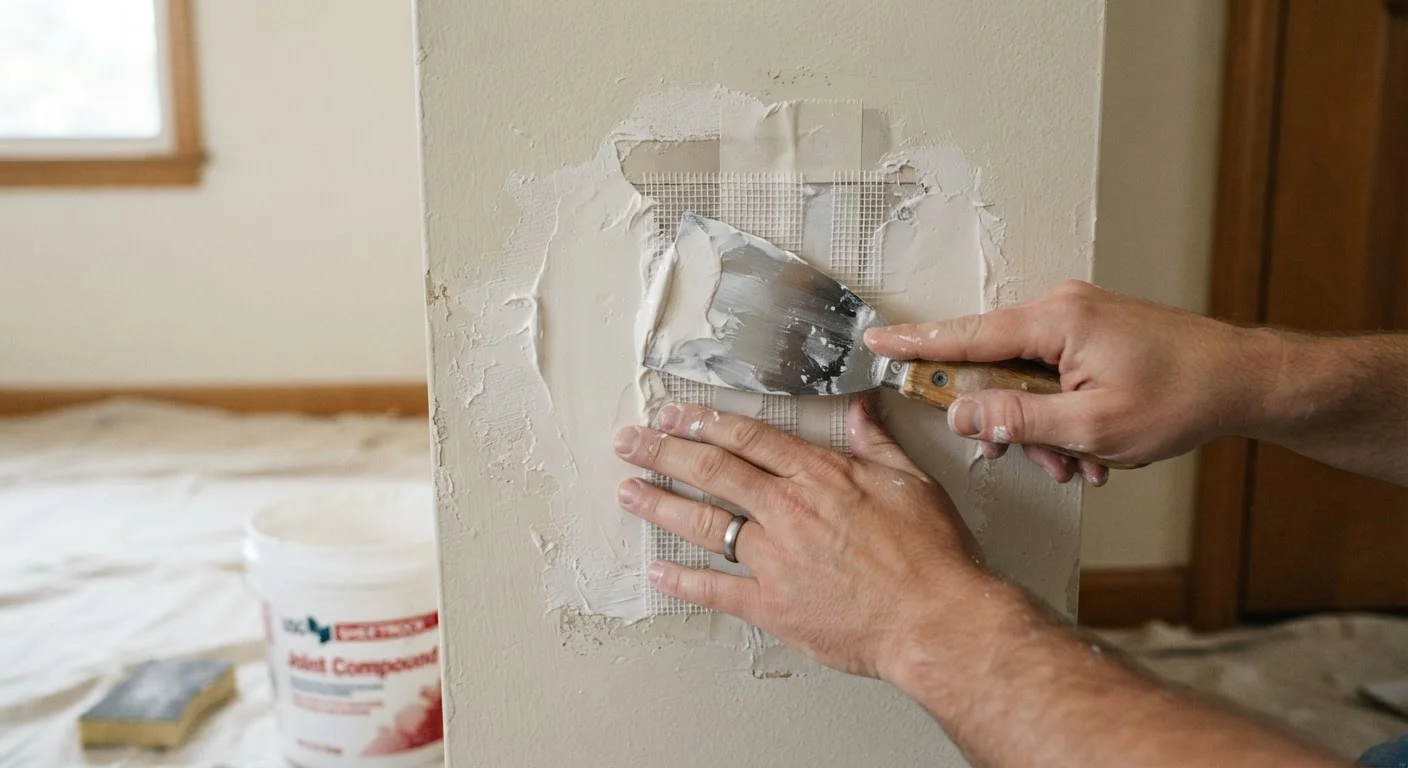
Photo: FaqsDrive.com | Smart Way To Search editorial
—— In This Article
Key Takeaways
- Nail pops and small holes can be fixed in under an hour with basic patching compound.
- Holes larger than about six inches typically require a backing board or patch kit for structural support.
- Joint compound must dry fully between coats — rushing this step leads to cracking and poor adhesion.
- Light sanding and feathering the edges are what make a repair invisible after painting.
- Matching texture before painting is the final — and often overlooked — step for a seamless finish.
Understanding the Damage Before You Start
Drywall damage falls into a few predictable categories, and knowing which one you're dealing with determines which repair method you'll use. Before reaching for a tool, assess the wall carefully.
Nail pops occur when the fasteners holding drywall to wall studs work their way out over time due to seasonal wood movement. They appear as small circular bumps or cracked paint spots. Small holes — from doorknobs, anchors, or accidents — are typically under three inches in diameter. Medium holes (three to six inches) need a self-adhesive mesh patch or a backing strip. Large holes over six inches require a cut-and-patch approach using a new piece of drywall and a backing board.
Before starting any repair, press gently around the damaged area to check for soft or spongy drywall, which may indicate moisture damage. Patching over water-damaged drywall without addressing the moisture source will cause the repair to fail. If you suspect a leak, resolve the underlying cause first.
What you will need
Tools and Materials You'll Need
Having the right supplies on hand before you begin makes the process much smoother. For a full overview of the hand tools that appear across almost every home repair job, see our guide to essential DIY hand tools.
Putty knife or drywall knife (4–6 inch)
Applies and smooths joint compound over patched areas.
Joint compound (pre-mixed)
Fills holes, covers patches, and creates a smooth paintable surface.
Self-adhesive mesh patch
Provides backing and reinforcement for holes between two and six inches.
Drywall saw or utility knife
Cuts out damaged drywall cleanly when making a patch for large holes.
Sandpaper (120- and 220-grit)
Smooths dried compound between coats and before painting.
Primer
Seals the repaired area so paint adheres evenly without flashing or dark spots.
Drywall screws and 1×3 backing board
Provides structural support when patching holes larger than six inches.
Sanding block or sanding sponge
Gives controlled, even pressure when smoothing dried compound.
Step-by-Step Repair Instructions
Follow these steps in order. The process is largely the same across damage sizes — what changes is the prep work and structural support required before applying compound. If this is your first DIY home project, our article on tackling your first weekend home improvement project offers helpful guidance on planning and working safely.
Fix nail pops
Drive the popped nail back in with a hammer, then drive a drywall screw about two inches above and below it to anchor the drywall firmly to the stud. The nail can stay — the screws do the holding work. Dimple the screw heads slightly below the surface without breaking the paper. Apply a thin coat of joint compound over each screw head with your putty knife, let dry, sand smooth, and repeat once more.
Patch small holes (under 3 inches)
Clean away any loose drywall or debris around the hole. Apply joint compound directly into and over the hole using your putty knife, spreading it slightly beyond the edges. Smooth it as flat as possible and let dry completely (usually 4–8 hours). Apply a second thin coat, feathering the edges out further. Sand with 120-grit paper once fully dry, then finish with 220-grit for a smooth surface.
Patch medium holes (3–6 inches) with a mesh patch
Center a self-adhesive mesh patch over the hole and press it firmly to the wall. Apply joint compound over the mesh with your putty knife, working compound into the mesh openings and smoothing outward. Because mesh patches have some thickness, you'll likely need three coats, each wider than the last, to fully hide the patch outline. Sand between coats with 120-grit, and finish with 220-grit before priming.
Patch large holes (over 6 inches) with a backing board
Use a drywall saw or utility knife to square off the hole into a clean rectangle. Cut a 1×3 piece of wood several inches longer than the hole's height. Insert it into the hole, hold it against the back of the drywall, and drive drywall screws through the existing drywall into the board on both sides of the hole. Cut a new piece of drywall to fit the opening exactly, screw it into the backing board, and apply mesh tape over all seams. Build up joint compound in thin coats over the entire patch area.
Sand, prime, and paint
Once all compound coats are fully dry, sand the entire repaired area starting with 120-grit and finishing with 220-grit. Wipe away dust with a slightly damp cloth. Apply a coat of drywall primer and let it dry completely — this step is essential because unpainted compound absorbs paint unevenly. Once the primer is dry, match your existing wall paint and apply as many finish coats as needed to blend the repair.
Common Mistakes and How to Avoid Them
Even careful repairs can go wrong. Here are the most common pitfalls beginners encounter:
- Skipping coats: Joint compound shrinks as it dries. One thick coat will crack. Apply two or three thin coats, letting each dry fully.
- Over-sanding: Sanding too aggressively can damage the paper face of surrounding drywall, creating a fuzzy texture that's hard to paint over. Use light, circular strokes and stop when the surface feels smooth to the touch.
- Forgetting texture: Many walls have a texture — orange peel, knockdown, or skip trowel — applied over smooth drywall. A perfectly smooth patch will stand out clearly once painted. Use a spray texture can or a sponge to approximate the surrounding wall texture before priming.
- Painting too soon: Fresh compound looks dry on the surface but may still hold moisture inside. Wait a full 24 hours in normal conditions — longer in humid weather — before applying primer.
Electrical and Plumbing Behind Walls
Before cutting into any wall — especially for medium or large patches — use a stud finder with built-in wire and pipe detection to check what's behind the drywall. Cutting into an electrical wire or water pipe is a serious safety risk. When in doubt, stop work and consult a licensed electrician or plumber before proceeding.

Home & Garden Editorial Team
Home & Garden Editorial Team is the collective byline for our editorial team and contributor network. Articles published under this byline or an editorial pen name are researched, written, and reviewed according to our editorial standards for clarity, consistency, and independence before publication.
View author profile