
Why Your Grout Keeps Cracking (And What to Do About It)
Cracked grout is rarely just cosmetic. Explore the structural and moisture-related causes — and how to address them before tile damage follows.
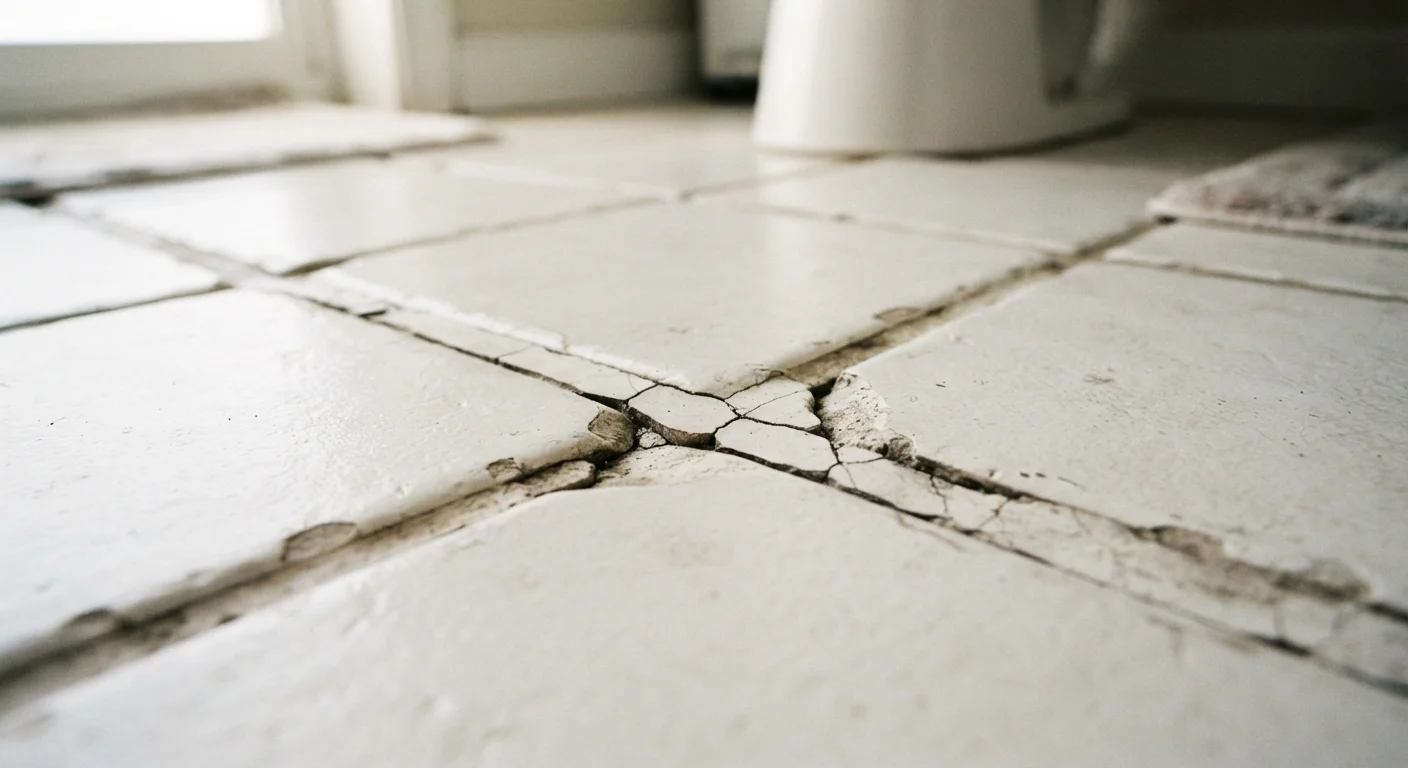
Photo: FaqsDrive.com | Smart Way To Search editorial
—— In This Article
Key Takeaways
- Cracked grout is usually caused by structural movement, improper mixing, or inadequate surface prep — not just age.
- Ignoring cracked grout allows moisture to penetrate, leading to mold, loosened tiles, and subfloor damage.
- Most grout repairs are DIY-friendly, but recurring cracks may signal a deeper structural problem requiring professional assessment.
- Choosing the correct grout type for the application (sanded vs. unsanded) is critical to long-term performance.
- Expansion joints are essential in large tiled areas — skipping them is one of the most common installer mistakes.
Why Cracked Grout Is More Than a Cosmetic Issue
Grout does more than fill the gaps between tiles — it stabilizes the tile assembly and acts as a first line of defense against moisture. When grout cracks, water can seep beneath the tile, compromising the adhesive bond and saturating the subfloor. Over time, this leads to mold growth, soft spots, and eventually, loose or broken tiles that require full replacement.
Understanding why grout cracks is the key to fixing it properly the first time. Many homeowners regrout over a cracked surface without addressing the root cause, only to watch the cracks return within months. The mistakes below represent the most common reasons grout fails — and what you can do differently.
Using the wrong grout type for the joint width or tile material.
Why it happens: Many homeowners or DIYers grab whatever grout is available without checking the joint size or tile compatibility requirements on the packaging.
Skipping expansion joints in large tiled areas or where walls meet floors.
Why it happens: Expansion joints interrupt the visual flow of a tile installation, so installers sometimes omit them for a cleaner look — especially in DIY projects.
Mixing grout too wet or applying it to a damp surface.
Why it happens: Thin grout seems easier to spread, and impatient installers often start grouting before the tile adhesive or substrate has fully dried.
Grouting over a flexing or insufficiently rigid subfloor.
Why it happens: Subfloor deflection (subtle bouncing or bending underfoot) is easy to overlook, especially in older homes with wood-framed floors.
Cleaning excess grout too aggressively or too soon after application.
Why it happens: Homeowners often wipe grout joints immediately after application, inadvertently pulling grout out of the joints or introducing too much water.
How to Repair Grout Correctly
Before applying new grout, remove all cracked or crumbling grout using a grout saw or oscillating multi-tool. Attempting to grout over existing damaged grout is one of the fastest ways to ensure the repair fails. Clean the joints thoroughly and allow the area to dry completely — at least 24 hours for wet areas like showers.
Never Grout Over Existing Cracked Grout
Applying new grout on top of damaged grout traps moisture and prevents proper bonding, causing the new layer to fail quickly — often within weeks. Always remove deteriorated grout completely before regrouting. Use a grout saw or oscillating tool carefully to avoid chipping tile edges, and wear eye protection throughout the process.
When mixing new grout, follow the manufacturer's water-to-powder ratio exactly. The consistency should resemble peanut butter — not soupy, not stiff. Apply grout diagonally across the joints using a rubber float, pressing firmly to fill voids. Wipe off excess with a damp sponge in stages before it hardens.
For joints wider than 1/8 inch, use sanded grout. For narrower joints (common around glass or polished stone tiles), use unsanded grout. Using the wrong type leads to shrinkage cracks or surface scratching. Once cured — typically 48 to 72 hours — apply a grout sealer to protect against moisture and staining.
Recurring Cracks May Signal a Structural Problem
If grout cracks return repeatedly in the same location after a proper repair, do not simply regrout again. This pattern often indicates subfloor movement, foundation settling, or improper original installation. Contact a licensed contractor or tile professional for an assessment before investing further in surface repairs that won't hold.
If cracks keep returning in the same location despite proper repair, consult a licensed contractor or structural professional. Persistent cracking in one area can signal subfloor deflection, foundation movement, or improper tile installation that goes beyond a simple regrouting job.

Home & Garden Editorial Team
Home & Garden Editorial Team is the collective byline for our editorial team and contributor network. Articles published under this byline or an editorial pen name are researched, written, and reviewed according to our editorial standards for clarity, consistency, and independence before publication.
View author profile